Steps to troubleshoot a solar street light that is not working:
First, to test the batteries, many manufacturers use batteries that are not waterproof. This can lead to positive and negative short circuits if water enters, resulting in unstable voltage. During the testing process, carefully observe the changes in battery voltage with the depth of discharge. If the battery cannot be used normally, it must be replaced with a new one.
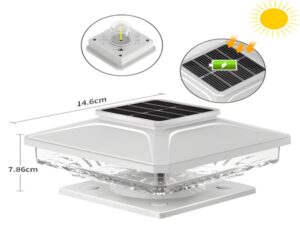
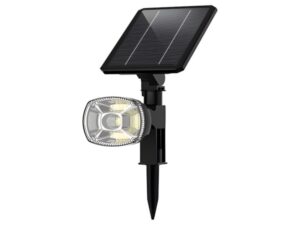
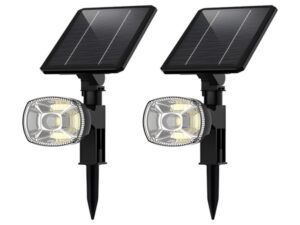
Second, check if the solar panels are charging. If they are not charging, there may be issues with voltage and current. In this case, it is necessary to check if the joints of the solar panel are well soldered. If there is no current, the conclusion is that the solar panel is defective. If there is electricity on the solar panel, also check if it is covered with snow, as this can prevent it from charging.

Third, first check the controller of the solar street light, as it is the core component. A red light on the controller indicates charging, while a flashing light means the battery is fully charged. If a yellow light appears, the light will not function normally. In this case, check the battery voltage. If the battery is good and the controller is faulty, it must be replaced with a new one. If the light does not illuminate, check if the wiring is broken.
Fourth, inspect the wiring of rural solar street lights for damage. If the insulation is worn, it can cause current to flow through the lamp post, resulting in a short circuit, which will prevent the light from turning on. Of course, unless it is an emergency, it is best to seek maintenance from professionals to ensure safety.