
Nowadays, solar street lights are increasingly used in our lives. The rapid development of this technology is attributed to various government policies that provide support to ensure a smooth development process and better functionality. What are the installation steps for solar street lights? The following article by Century Sunshine Lighting will provide a detailed introduction.
1. Foundation Pouring
1. Determine the location for the lamp installation and investigate the geological conditions. If the surface 1.2 meters deep is all soft soil, the excavation depth should be increased. Ensure there are no other facilities (such as cables, pipes, etc.) below the excavation site, and check that there are no long-term shading objects above the lamp; otherwise, adjust the position accordingly.
2. Reserve an excavation pit of 1.3 meters that meets standards at the lamp location and perform a location pour for the embedded parts. The embedded parts should be placed in the center of the square pit, with one end of the PVC conduit located in the center of the embedded part and the other end in the battery storage area. It’s crucial to maintain that the embedded parts, foundation, and original ground are on the same level (or the top of the screw is on the same level as the original ground, depending on site requirements), with one side parallel to the road. This ensures that the lamp post stands straight and does not tilt after installation. The concrete should be fixed with C20 concrete, and during the pouring process, a vibrator should continuously be used to ensure overall compactness and stability.
3. After completion, promptly clean any remaining mud from the positioning board and use waste oil to clean impurities from the bolts.
4. While the concrete solidifies, regularly water for curing. Once the concrete has fully set (typically over 72 hours), light installation can proceed.
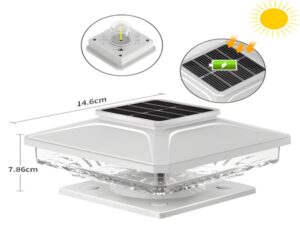
2. Solar Panel Installation
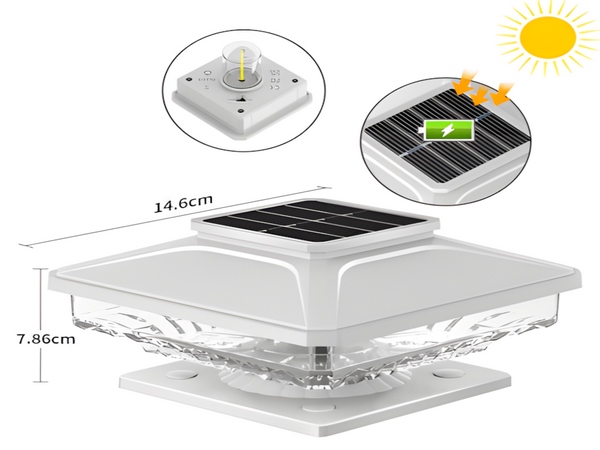
1. Take measures to prevent short circuits before connecting the positive and negative terminals of the solar panel to the controller.
2. Ensure the solar panel is securely connected to the mounting bracket.
3. Avoid exposing the output wires of the panel and secure them with zip ties.
4. The solar panel should face true south, as indicated by a compass.
3. Battery Installation
1. Handle the battery gently when placing it inside the control box to prevent damage.
2. Connect wires between batteries using bolts on the battery terminals and use copper washers to enhance conductivity.
3. The output wires connected to the battery must not be short-circuited under any circumstances to avoid damaging the battery.
4. When connecting the battery output wire to the controller inside the pole, it must go through a PVC conduit.
5. After completing the above steps, check the wiring at the controller end to prevent short circuits. Once everything is normal, close the control box door.
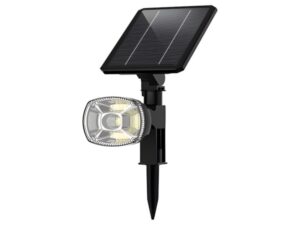
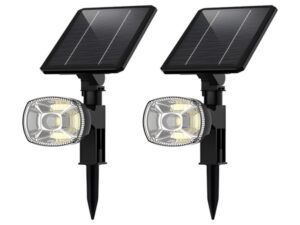
4. Light Fixture Installation
1. Secure various components: fix the solar panel to its mounting bracket, attach the light head to the arm, and then connect the bracket and arm to the main pole, guiding the connection wires into the control box (battery box).
2. Before raising the lamp post, check that all fasteners are tight, the light head is correctly installed, and the light source functions properly. Then, perform a simple test of the system; loosening the solar panel connection from the controller should turn on the light; reconnecting it should turn it off. Carefully observe the indicator lights on the controller for changes; if everything is normal, the post can be raised for installation.
3. Ensure safety precautions while lifting the main lamp post. The screws must be securely tightened. If the panel’s angle towards the sun is off, adjustments should be made to face it directly south.
4. Place the battery in the battery box and connect the wires to the controller according to technical requirements: connect the battery first, followed by the load, and then the solar panel. Care must be taken to ensure that the wiring corresponds to the marked terminals on the controller, with no reverse polarity; otherwise, the controller will be damaged.
5. Test the system to ensure it functions correctly. Disconnecting the solar panel connection should turn the lamp on, and reconnecting it should turn it off. Observe the indicator lights on the controller for any changes; if everything is normal, secure the control box.
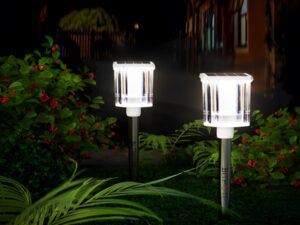
The above outlines the installation steps for solar street lights. Compared to traditional street lights, installing solar street lights is simplified, with lower costs as there is no need to lay cables; only a pit needs to be dug. Thus, even in remote areas with inadequate electrical infrastructure, they can provide illumination easily at night.