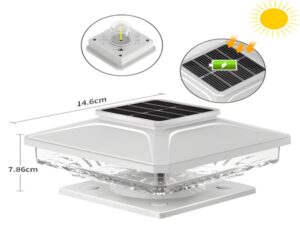
Nowadays, solar street lights can be seen in both urban and rural areas. The main components of a solar street light include solar panels, smart controllers, batteries, LED lamps, lamp poles, and brackets. Among these, the battery functions as the “basement” or “logistics department” of the solar street light, storing and supplying energy. So, how should the solar street light battery be installed? Let’s take a look together!
The installation method for the solar street light battery is as follows:
1. Casting of embedded parts (ground cage)
2. For a 6-meter lamp pole, the size of the embedded part pit is approximately 60*60 cm, with a depth of 70 cm. Use adhesive tape to wrap the positions for the screw rods before burying and casting.
3. After connecting the wires to the lamp head, pass them through the arm and through the corresponding holes in the lamp pole to the top, then secure them with screws.

4. The integrated lithium battery is installed on the bracket behind the solar panel, corresponding to the four reserved screw hole positions.
5. The solar panel is installed at the four reserved hole positions on the solar panel bracket, secured with screws.
6. Once the solar panel and lithium battery are installed onto the bracket, they are then fixed at the top of the lamp pole.
7. The solar panel and lithium battery are once again fixed to the top of the lamp pole after installation onto the bracket.
8. Diagram of solar street light wiring.
The above sharing on the installation method of the solar street light battery concludes this article. I hope this information is helpful to everyone. If you have any other questions regarding solar street lights, feel free to leave a message. We look forward to discussing them with you!