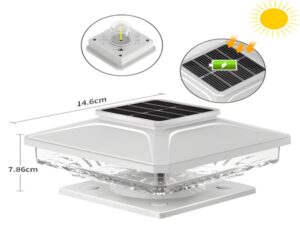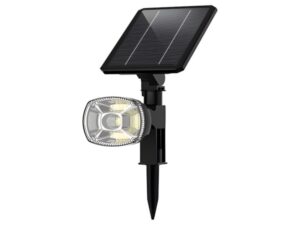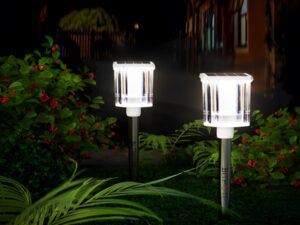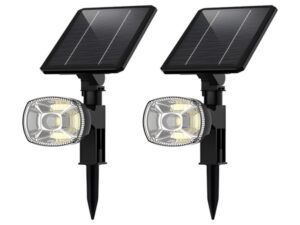
Solar street lights are now very popular in our daily lives, but how much do people know about the parameter settings of solar street light controllers? There are currently two methods for setting the parameters of solar street light controllers in the market: one is through the buttons and the digital display designed on the solar street light controller itself, and the other is through a remote infrared controller. How should the technical parameters of solar street light controllers be set? Below, we will introduce this topic.
Setting Method: Press and hold the setting button for 5 seconds, the MODE display will flash the number on the LED, release the button, and each press will switch to the next number until the number displayed matches the number corresponding to the selected mode from the user table. The setup is complete when the LED display stops flashing. Each time the button is pressed, the corresponding LED number will light up, allowing observation of the set value.
Pure Light Control Mode “0”: When there is no sunlight, and the light intensity falls to the start point, the controller delays for 10 minutes to confirm the start signal before enabling the load, and the load begins to operate. When there is sunlight, the light intensity rises to the start point, and the controller delays for 10 minutes to confirm the output shutdown signal before turning off the output, causing the load to stop working.
Light Control + Delay Mode (“1” – “9”, “0.” – “5.”): The startup process is the same as before. When the load operates for the set time, it will turn off, with light control taking precedence.

General Controller Mode “6.”: This mode only cancels the light control and time control functions, the output delay, and related functions, retaining all other functionalities to be used as a general-purpose controller.
Debugging Mode “7.”: This is used for system debugging. Similar to the pure light control mode, but it cancels the 10-minute delay for judging light signal control output while retaining all other functions. The load is activated with a light signal and deactivated without one, facilitating the inspection of system installation correctness during installation debugging.
Output Mode Description: When the LED digital display shows the mode setting value, the displayed number is without a decimal point in modes “0” to “9” and “0.” to “5.”, indicating pure DC output. If the number does not have a decimal point (“0” to “9”), the decimal point on the digital display will not light up.
Working Mode Setting Table: (Note: When selecting the LED digital display with a decimal point mode, the decimal point on the display remains illuminated, which does not affect the overall performance of the controller and is only for differentiation purposes.)
5. Load Connection: Connect the load wiring to the load output terminal on the controller, paying attention to the polarity; do not reverse the connections to avoid damaging the electrical appliances.
The information shared above regarding the setting of technical parameters for solar street light controllers concludes here. If there are still uncertainties, please refer to the manual, which generally provides detailed descriptions to set each operating parameter.