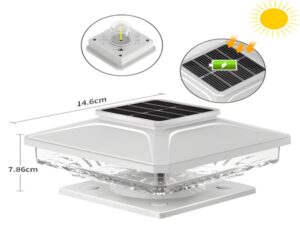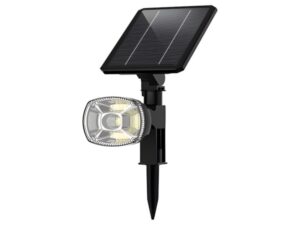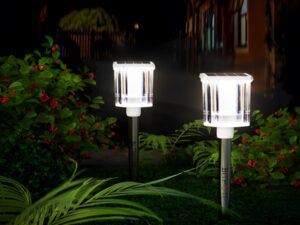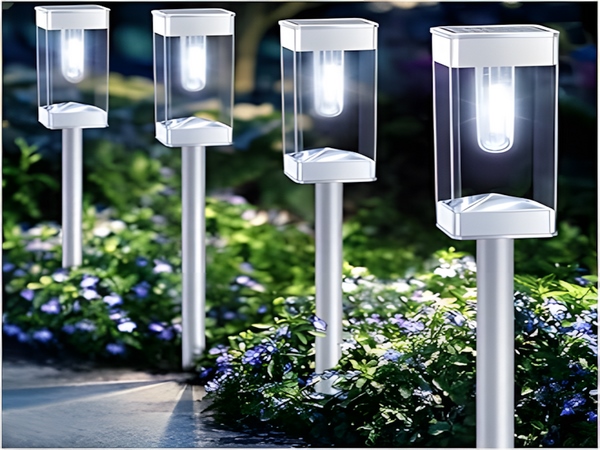
When it comes to solar street lights, most people are familiar with them. They utilize solar panels to absorb sunlight, converting it into electrical energy stored in batteries. At night, this energy powers the LED lights. However, there are times when solar street lights fail to illuminate. In such cases, how do we troubleshoot non-functioning solar street lights? Here, Century Sunshine Lighting’s editor will provide some insights.
Here are the methods and steps for repairing non-functioning solar street lights:
1. The first step in repairing solar street lights: Measure the voltage of the solar panel.
Ensure that the multimeter is set to the DC voltage range. When measuring, the solar panel should face direct sunlight. For a normal 3.2-volt low-voltage system, the solar panel voltage should be between 6 to 7.2 volts. For a 12-volt system, the panel voltage should be around 21 volts. If the voltage is normal, the solar panel is functioning correctly. If not, it needs to be replaced.
2. Check the wiring of the solar panels.
Additionally, check all connection wires of the solar panels for severe corrosion that may cause an open circuit. If it’s a newly installed solar street light that doesn’t illuminate, focus on checking for reverse polarity connections.
3. Check the battery voltage.
This is the third step in repairing solar street lights and a crucial part of troubleshooting non-functioning lights. Many times, the lights don’t work due to a damaged battery. This is especially true for buried gel lead-acid batteries, which typically have a short lifespan of only 3 to 5 years, with a reasonable voltage range of 9 to 14 volts. If the voltage is too low, there is a problem.
For systems that use lithium batteries, we can consider two common system voltages: 3.2-volt low-voltage systems and 12-volt systems. The first test is to measure the voltage of the battery pack by checking the voltage of the wires connecting the battery to the controller.
It’s best to measure the voltage with a load connected, as the voltage may appear misleading when there is no load. The normal voltage for a 3.2-volt battery is between 1.5 to 3.6 volts, with a low-voltage condition between 1.5 to 2.7 volts. For a 12-volt system, the battery voltage should be between 9 to 14.5 volts, with a low-voltage condition between 6 to 11 volts.
Once the battery has been checked, the correct repair method for solar street lights also requires checking the circuitry. Therefore, also inspect the battery wiring, as issues in these connections can lead to non-functioning street lights.
Measure the voltage of the battery pack.

4. The fourth step in repairing solar street lights: Troubleshoot the controller.
The simplest way to test the controller is to connect a fully charged battery pack to the old lamp controller. Observe the status of the control lights. If the indicator light does not illuminate or if all three lights remain constantly lit or flickering, it indicates that the controller is damaged and needs to be replaced.
If the controller’s battery indicator light is illuminated, wait for about one minute. If the light source turns on, it indicates that the controller’s discharging function is normal, and the light source is also functioning well.
If the light source is illuminated, it confirms that the controller’s discharging function is operational. Next, test the charging function by connecting the solar panel wires to the controller. If the component indicator light on the controller lights up and the light source turns off, it indicates that the system is in charging mode. If both charging and discharging functions are normal, we can reasonably conclude that the controller is functional.
5. The fifth step in repairing solar street lights: Check the light source.
If the indicator light for the light source on the controller is lit but the light source itself does not illuminate, or if the light source indicator light is flickering, it indicates a problem with the light source or its wiring. In such cases, repairs or replacements are necessary.

There are two main types of light source failures: one where the entire LED or part of it does not light up, and another where there is severe light attenuation and insufficient brightness.
Of course, you can also prepare a good light source in advance and replace it for testing. If the new light source illuminates while the old one does not, then the old light source is damaged.
This concludes our discussion on troubleshooting non-functioning solar street lights. Solar street lights offer many advantages, such as energy efficiency, eco-friendliness, safety, reliability, and intelligent control. Overall, the benefits of solar street lights are quite significant.
