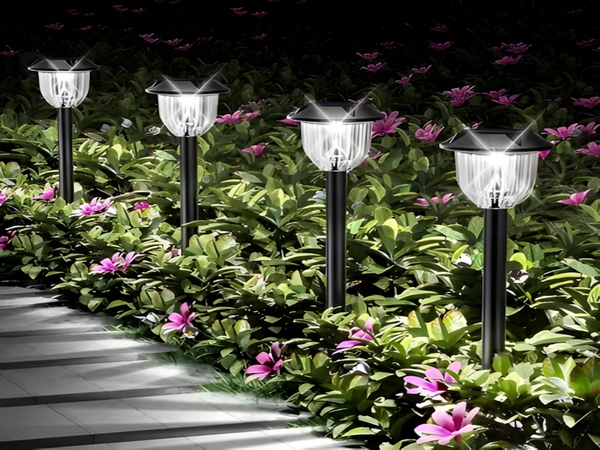
With the intensification of the energy crisis and serious environmental pollution issues, it is essential to continuously develop and utilize renewable energy for sustainable development. Solar energy, as a new energy source, has attracted attention. Compared to traditional streetlights, solar streetlights offer advantages such as energy-saving, environmental protection, aesthetic appeal, low operating costs, and intelligent operation. However, the installation of solar streetlights must be carried out before use. How should solar streetlights be installed? Next, the editor from Century Sunshine Lighting will introduce this.
(1) Site Selection
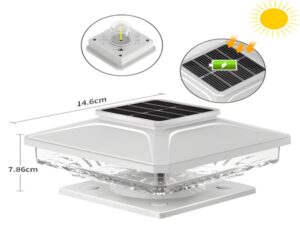
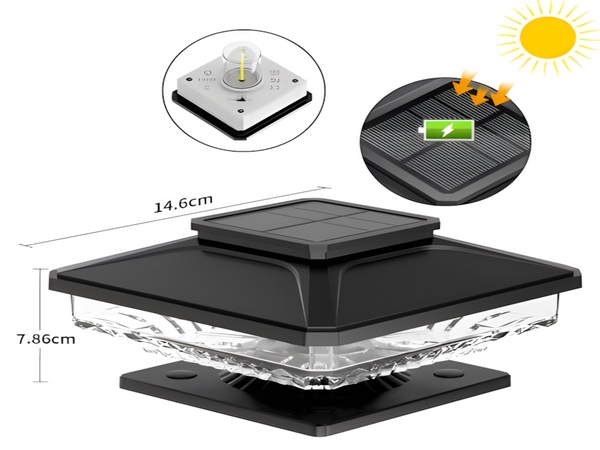
1. Choose the orientation of the light source based on the road direction and the installation location. Pay attention to the latitude of the site and adjust the angle of the solar panel accordingly, using the local latitude as a reference to ensure the panel meets the maximum illumination area on the road surface.
2. Solar streetlights must be installed in locations with sufficient sunlight and where the solar panel does not have any obstructions casting shadows throughout the day. In the Northern Hemisphere, the solar panel should face south; in the Southern Hemisphere, it should face north, while near the equator, the panel can be laid flat.
3. Solar lights should avoid being near heat sources to prevent any impact on the lifespan of the fixtures.
4. Operating temperature: -20°C to 60°C. In colder environments, upgrade the system configuration to enhance temperature protection.
5. There should be no direct light source above the solar panel to avoid misoperation by the control system.
(2) Foundation
1. Installation of foundation embedded parts
Foundation pit:
Assess the site conditions. If the soil is hard, excavate a pit of approximately 1 cubic meter at the lamp installation location, adjusting according to the height of the lamp post. For loose soil or special requirements, the excavation depth should be determined separately.
(3) Installation
Step 1: Check and test.
1. Check whether all parts are complete.
2. Test if the light operates normally.
When the light operates correctly in demonstration mode, it can be assumed to be in good condition. After testing, please use the remote control to set the desired mode.
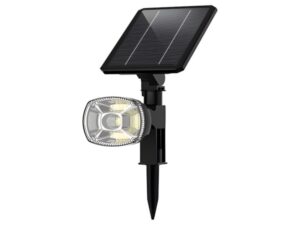
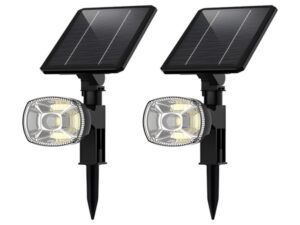
Step 2: Assemble the lamp head components (suitable for Feihe and Night Hawk lights).
1. Remove the three screws securing the top cover, then secure the top cover properly.
2. Attach the mounting bracket using the six screws from the accessory bag to the solar panel.
3. Prior to assembly, adjust the angle of the solar panel, and then assemble the solar panel with the lamp head.
4. Ensure that the connection between the solar battery module and the support is secure and reliable.
5. The output wires of the module should be kept away from exposure and secured using cable ties.
6. The solar panel must face true south, based on the compass direction.
Note: The anti-skid screws must be tightened.
Step 3: Assemble the lamp head with the lamp pole.
1. Install the lamp head, which already has the solar panel attached, onto the lamp pole.
Note: The pole diameter at the top should be 60-70MM, depending on the installation specification for different fixtures.
2. Tighten the six screws to secure the lamp post.
3. Installation complete.
The above methods for correctly installing solar streetlights are shared here. Since solar streetlights rely on solar radiation as their energy source, the sunlight reaching the photovoltaic module directly affects the lighting performance of the fixtures. Therefore, when selecting the installation location, ensure the battery module can receive sunlight at all times without any obstructions such as leaves.