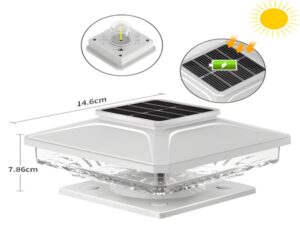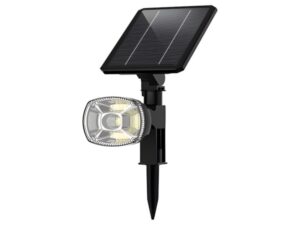
With the development of modern technology, more and more orders for
new rural solar street lights
are being placed. Many customers inquire about the installation of the 6-meter solar street lights. Today, the manufacturer of solar street lights shares some quick tips for mastering the installation process. Many customers believe that solar street lights powered by sunlight, being high-tech, must be complicated to install. In fact, it’s quite simple as long as we grasp a few key points.

1. Foundation pouring for solar street lights
Generally speaking, after customers pay the deposit, the
solar street light manufacturer
will send the corresponding foundation drawings. Simply follow the specifications and dimensions on the installation drawing to pour the foundation. It is essential to wait until the concrete fully hardens (generally over 72 hours) before installing the street lights.
2. Assembly of solar panels and batteries
1. Installation of battery components:
The positive and negative terminals of the solar panel output must be protected from short-circuiting before connecting to the controller. The solar panel components must be securely connected to the brackets. The output wires of the components should be avoided from being exposed and should be secured with zip ties. The orientation of the battery components must face true south, as indicated by a compass.
2. Battery installation
Batteries should be handled carefully when placed inside the control box to prevent damage. The connection wires between batteries must be secured using bolts on the battery terminals along with copper washers to improve conductivity. Output wires connected after the batteries must never be short-circuited under any circumstances to avoid damaging the batteries. When linking the battery output wire to the controller inside the pole, it must pass through a PVC conduit.
After completing the above steps, check the wiring on the controller side to prevent short circuits. Ensure the control box door is properly closed.
3. Installation of lights and upright pole
1. Fix components at each part: Secure the solar panel to the solar panel bracket, attach the lamp head to the arm, and then fix the bracket and arm to the main pole, running the connection wire to the control box (battery box).
2. Before hoisting the light pole, check if all fasteners are tight, if the lamp head is properly installed, and if the light source is functioning correctly. Then perform a simple test to ensure the system is working normally. Disconnect the solar panel connection line on the controller and the light source should operate.
3. When hoisting the main lamp pole, pay attention to precautions. Ensure screws are tightened. If the angle of the components is misaligned toward the sun, adjustments should be made to ensure they face directly south.
4. Ensure the system is functioning normally. Disconnect the solar panel connection line on the controller, the light should illuminate; reconnect the solar panel connection line, the light should extinguish; monitor the changes of the indicators on the controller carefully. Everything must be normal before sealing the control box.
Bitpott
solar street light manufacturer
specializes in the research, development, production, and sale of outdoor lighting products, including solar and LED lights. With years of production experience and advanced manufacturing equipment, quality is guaranteed along with reasonable pricing and configurations. Please consult for
new rural solar street light prices
. We look forward to your inquiries!
