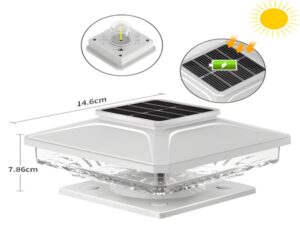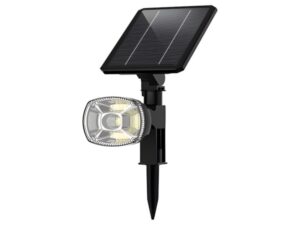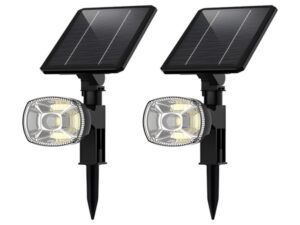
Solar
Battery
Panel
Module
is a device that directly converts sunlight into direct current electricity. Multiple modules can be connected in series and parallel to form a power generation array, providing a larger electrical power output. Solar battery modules feature high power output per module and high reliability, making them suitable for standalone use or as part of an array.
Modules consist of high-efficiency monocrystalline solar cells, aging-resistant EVA film, high-transmittance low-iron tempered glass, and Tedlar (TPT) backsheet made of fluoroplastics and polyester composites. These elements are laminated together as a whole under vacuum and heat, and finally encased in anodized corrosion-resistant aluminum frames and junction boxes to create the finished module. They are characterized by high efficiency, long lifespan, easy installation, and resistance to wind and hail.
The solar panel incorporates various advantages, but how much do you really know about the production of photovoltaic modules? Let’s take a look at the production process of the streetlights.
The production line process for photovoltaic modules includes:
1. Cell Testing: Due to the variability in production conditions, the performance of the produced cells may differ. To effectively group cells with consistent or similar performance, they should be categorized based on their performance parameters; cell testing involves classifying cells by measuring their output parameters (current and voltage). This improves utilization and ensures the production of quality modules.

2. Front Soldering: This involves soldering the busbars to the front (negative) side of the cells. The busbars are tinned copper strips, and the soldering machine we use can spot weld the strips to the main grid lines at multiple points. The heat source for soldering is an infrared lamp. The length of the busbar is approximately twice the length of the cell’s side, with the excess busbar connecting to the rear electrode of the next cell during back soldering.
3. Back Soldering: This involves connecting the rear soldering of 36 cells to form a module string. Our current technique is manual, and the positioning of the cells relies on a fixture board designed with 36 recesses for placing the cells. The size of the recesses corresponds to the cell size, and the positions are pre-designed. Different specifications use different templates. The operator uses a soldering iron and solder wire to connect the positive electrode (negative) of the front cell to the rear electrode (positive) of the following cell, sequentially connecting the 36 cells and soldering the lead-out wires at the positive and negative ends of the module string.
4. Layering: After the rear soldering is complete and passes inspection, the module string is prepared for lamination with glass, cut EVA, fiberglass, and backsheet arranged in a specific layer. The glass is pre-coated with a primer to enhance adhesion strength between the glass and EVA. The relative positioning of the battery string and glass during layering is ensured, adjusting distances between cells for proper lamination. The layering order from bottom to top is glass, EVA, cells, EVA, fiberglass, backsheet.
5. Module Lamination: The layered cells are placed inside a laminating machine, where air is evacuated from the module and heat is applied to melt the EVA, creating adhesive bonds between the cells, glass, and backsheet. Finally, the module is cooled and removed. The lamination process is a critical step in module production, with parameters like temperature and duration defined by the characteristics of EVA. When using fast-curing EVA, the lamination cycle takes about 25 minutes at a curing temperature of 150°C.
6. Trimming: During lamination, the EVA is extended outward due to pressure, creating rough edges once solidified. Therefore, the edges should be trimmed post-lamination.
7. Framing: This is akin to mounting a a glass frame; here, an aluminum frame is attached to the glass module, increasing the strength of the module and further sealing the battery components to extend their lifespan. Gaps between the frame and glass are filled with silicone resin, and the corners of the frames are connected with corner keys.
8. Soldering the Junction Box: A box is soldered to the rear lead-out point of the module to facilitate connections to other devices or between batteries.
9. High Voltage Testing: This test involves applying a specified voltage between the module frame and electrode leads to assess the module’s insulating strength and pressure resistance to ensure that it remains undamaged under severe natural conditions (such as lightning).
10. Module Testing: The purpose of testing is to calibrate the output power of the batteries, assess their output characteristics, and determine the quality grade of the module.
The automated production line for photovoltaic battery modules is committed to taking care of every detail in your production, reducing manpower and lowering the footprint. It ensures that you increase efficiency during production, boosting output while creating a competitive cost advantage for you.
For more information on
Solar Street Light Price List
you are welcome to inquire further.
Bitpott Solar Street Light Manufacturer
specializes in research, production, and sales of solar,
led
outdoor lighting. With years of production experience and advanced equipment, we offer quality assurance, competitive pricing, and reasonable configurations. For inquiries regarding
led
solar street light prices, please contact our
online customer service.
You can also call the street light service hotline directly for inquiries!