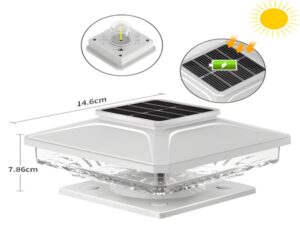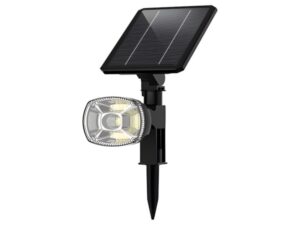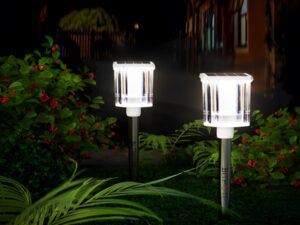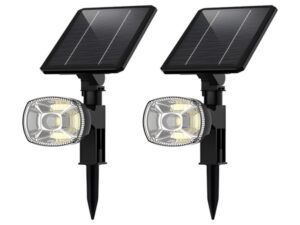
Solar batteries are devices that directly convert solar energy into direct current electricity. Multiple components can be connected in series and parallel to form a power generation array, providing a larger power output. Solar battery components have the characteristics of high individual component power and high reliability, and can be used individually or as an array.
The components consist of high-efficiency monocrystalline solar cells, anti-aging EVA adhesive films, high-transmittance low-iron tempered glass, and a back sheet made of fluoroplastics and polyester composites. These elements are laminated into a single unit under heat and vacuum, and finally fitted with anodized anti-corrosive aluminum alloy frames and junction boxes to create the final components. They exhibit high efficiency, long lifespan, ease of installation, and resistance to wind and hail.
The solar panel integrates various advantages, but how much do you know about the production of photovoltaic components? Next, let’s take a closer look.
The production process of photovoltaic components includes the following steps:
1. Battery Testing: Due to the randomness in battery cell manufacturing conditions, the performance of produced batteries varies. To effectively group batteries with consistent or similar performance, they should be classified according to their performance parameters. Battery testing involves measuring the output parameters (current and voltage) to categorize them, increasing the utilization rate of batteries and producing qualified battery components.
2. Front Welding: This process involves welding the busbars to the front side (negative electrode) of the battery. The busbars are tin-coated copper strips. We use a welding machine that can spot-weld the busbars onto the main grid lines at multiple points. The heat source for welding is an infrared lamp (using infrared thermal effects). The length of the busbars is approximately twice the side length of the battery, with the excess busbar connected to the back electrode of the subsequent battery during back welding.

3. Back Interconnection: The back welding process connects 36 battery cells to form a string. We currently use a manual process where the positioning of batteries relies on a membrane fixture with 36 slots corresponding to the battery sizes and pre-designed positions. Different specifications of components use different templates. The operator uses a soldering iron and solder wire to weld the front electrode (negative) of the “front battery” to the back electrode (positive) of the “back battery,” successively connecting all 36 cells into a string and soldering leads at the positive and negative ends of the string.
4. Layering for Lamination: After the back string is completed and passes inspection, the string, glass, and cut EVA, fiberglass, and back sheet are arranged in layers for lamination. The glass is pre-coated with a primer to enhance adhesion between the glass and EVA. During layering, it is crucial to maintain the relative position of the battery string with the glass and other materials, adjusting the distance between batteries to prepare for lamination (layering from bottom to top includes glass, EVA, battery, EVA, fiberglass, and back sheet).
5. Component Lamination: The assembled batteries are placed in a laminator, where the air is evacuated to create a vacuum, and then heat is applied to melt the EVA, bonding the battery, glass, and back sheet together. The components are then cooled and removed. The lamination process is a critical step in component production, with the lamination temperature and time determined by the properties of the EVA. We use quick-curing EVA, with a lamination cycle time of about 25 minutes at a curing temperature of 150°C.
6. Edging: During lamination, the melted EVA extends outward due to pressure, forming rough edges that need to be cut away after lamination.
7. Framing: Similar to framing glass, an aluminum frame is attached to the glass component to increase strength, further sealing the battery component and extending its lifespan. The gaps between the frame and glass are filled with silicone resin, and corner keys connect the edges.
8. Junction Box Welding: A box is welded at the wire lead points on the back of the component to facilitate connections between the battery and other devices.
9. High Voltage Testing: High voltage testing involves applying a certain voltage between the component frame and electrode leads to test the component’s voltage resistance and insulation strength, ensuring the component is not damaged under harsh environmental conditions such as lightning strikes.
10. Component Testing: The purpose of testing is to calibrate the output power of the battery, measure its output characteristics, and determine the component’s quality grade.
The automated production line for photovoltaic battery components is dedicated to caring for every detail in your production, reducing the number of operators, and minimizing the footprint. It ensures you increase efficiency in production while enhancing yield, creating a competitive cost advantage.
For more information on solar street light prices, please consult us for insights.
We are a professional manufacturer of solar street lights, specializing in the research, development, production, and sales of solar and LED outdoor lighting. With years of production experience and advanced equipment, we guarantee quality, reasonable prices, and configurations.
If you are interested in the prices of LED solar street lights, please feel free to reach out to our customer service.