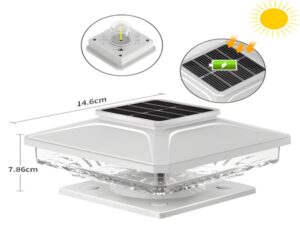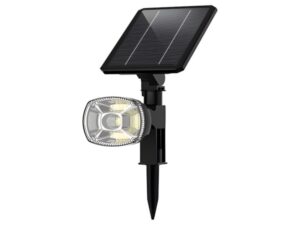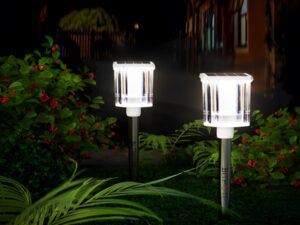

With the continuous urbanization in our country, the installation of streetlights is increasing, especially solar streetlights, which are now used more widely. Solar streetlights typically use LED light sources, which have a longer lifespan compared to other bulbs and are more energy-efficient and environmentally friendly. Although the installation process is relatively simple, it is essential to take it seriously. Let’s take a look at how to install solar streetlights.

1. Installing the Lamp Arm
When installing the lamp arm, it is important to arrange the wiring properly for the subsequent installation of the lamp head. Generally, lighting poles have pre-drilled holes for wiring. We should pull the electrical wires through these holes and guide them to the top of the pole. Finally, we can securely install the lamp arm onto the pole using bolts.
2. Installing the Light Bulb
Once the lamp arm is installed, we can proceed to install the light bulb. Selecting an appropriate light bulb is crucial and typically follows certain requirements based on the brightness needed. The right bulb ensures effective illumination. Each streetlight operates as an individual unit, so we must ensure that each bulb has the same wattage. This consistency helps maintain equal lighting duration and reduces the likelihood of frequent malfunctions, allowing for batch replacements when necessary.
3. Wiring and Power Supply
The commonly used wiring is copper wire, so it is vital to choose qualified wiring. Although solar streetlights have low power requirements, they endure harsh weather conditions year-round. Using substandard wires can significantly affect the overall lifespan of the streetlights, as maintenance can be time-consuming and labor-intensive once they are installed.
The above are some steps for installing solar streetlights. Hope this information helps everyone successfully complete their streetlight installations.


