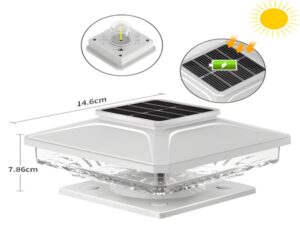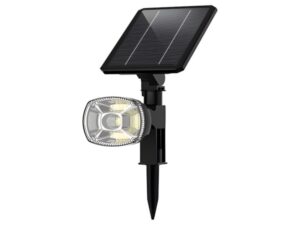
Now, solar street lights are increasingly found in various locations, both urban and rural, highlighting their advanced features. With the widespread adoption of solar street lights, many consumers are interested in understanding how to assemble solar street light poles. To address this question, the following is an introduction to the assembly method.

Assembly Method for Solar Street Light Poles
1. Check that the model of the light pole to be installed is correct (e.g., single head, double head) and match it with the appropriate length of the arm. Cut the suitable wires to the appropriate length, typically leaving 150mm of stripped wire at both ends.
2. Install the arm and light head, ensuring the position and level of the fixtures are determined based on the pole.
3. After wiring, check that the light wires are securely fastened.
4. Connect the light source and thread the wires, connecting according to the manual, while paying attention to the positive and negative terminals.
5. After connecting the wires, check that the connections are secure. During the installation of the light source, ensure that the lighting surface is perpendicular to the ground, rather than to the arm.

6. After connecting the light source, first use a multimeter to test the resistance and check for grounding with the pole. Then use a battery to test the lights, confirming the connection is correct.
The above shared assembly method for solar street light poles concludes here. In summary, solar street lights offer good overall quality, competitive pricing, and are convenient for transportation and installation. They provide effective illumination, usually working in conjunction with the timing adjustment or motion sensing functions of the controller. Lithium batteries are used for power supply, providing excellent charging cycles and deep discharge characteristics.
